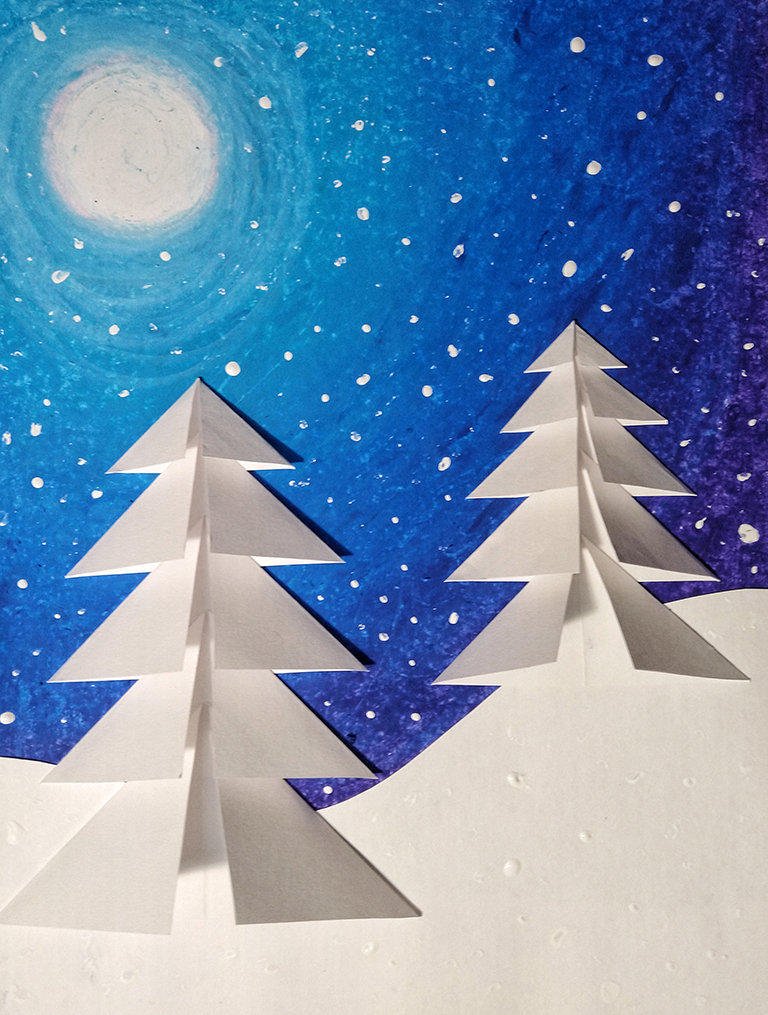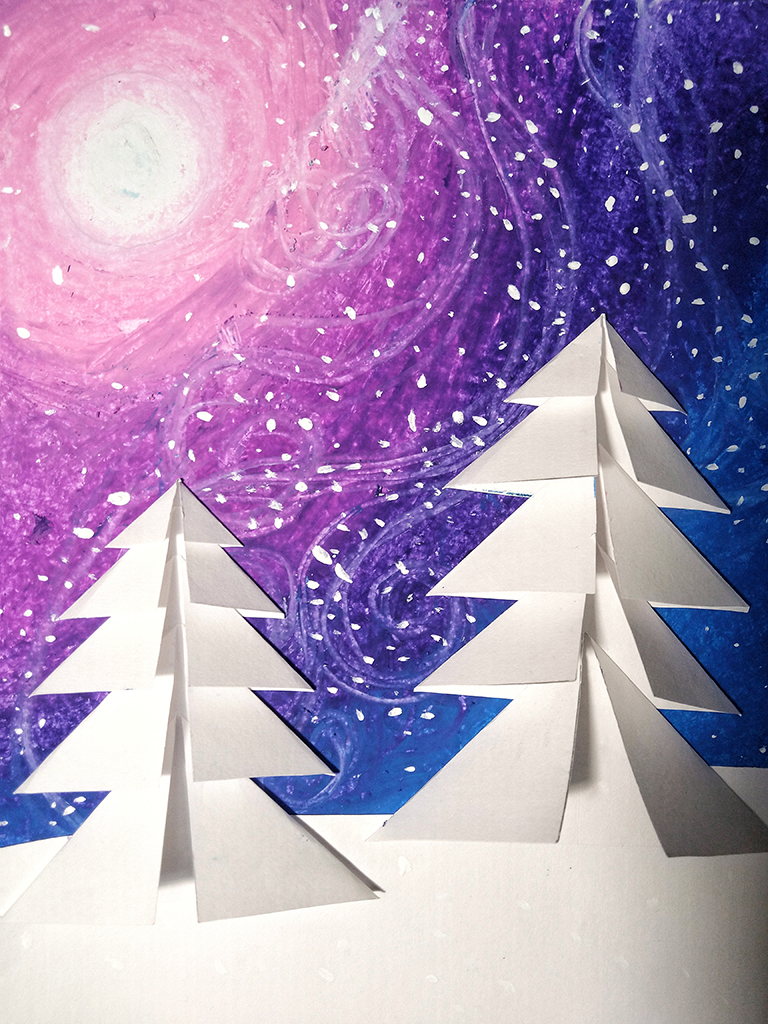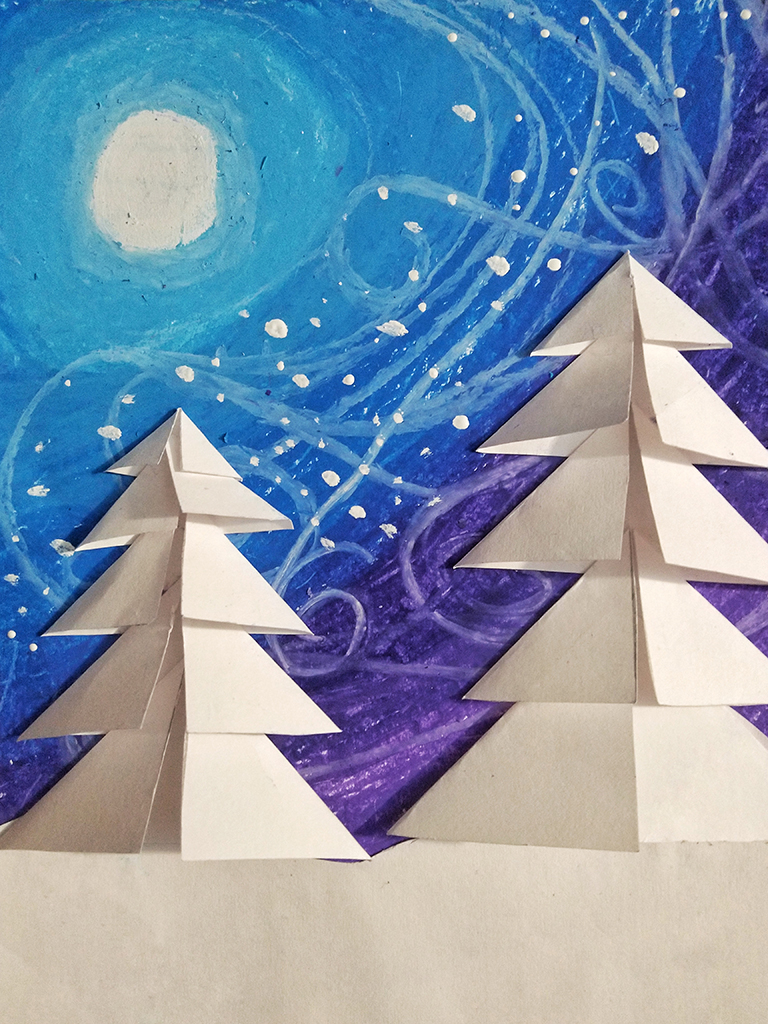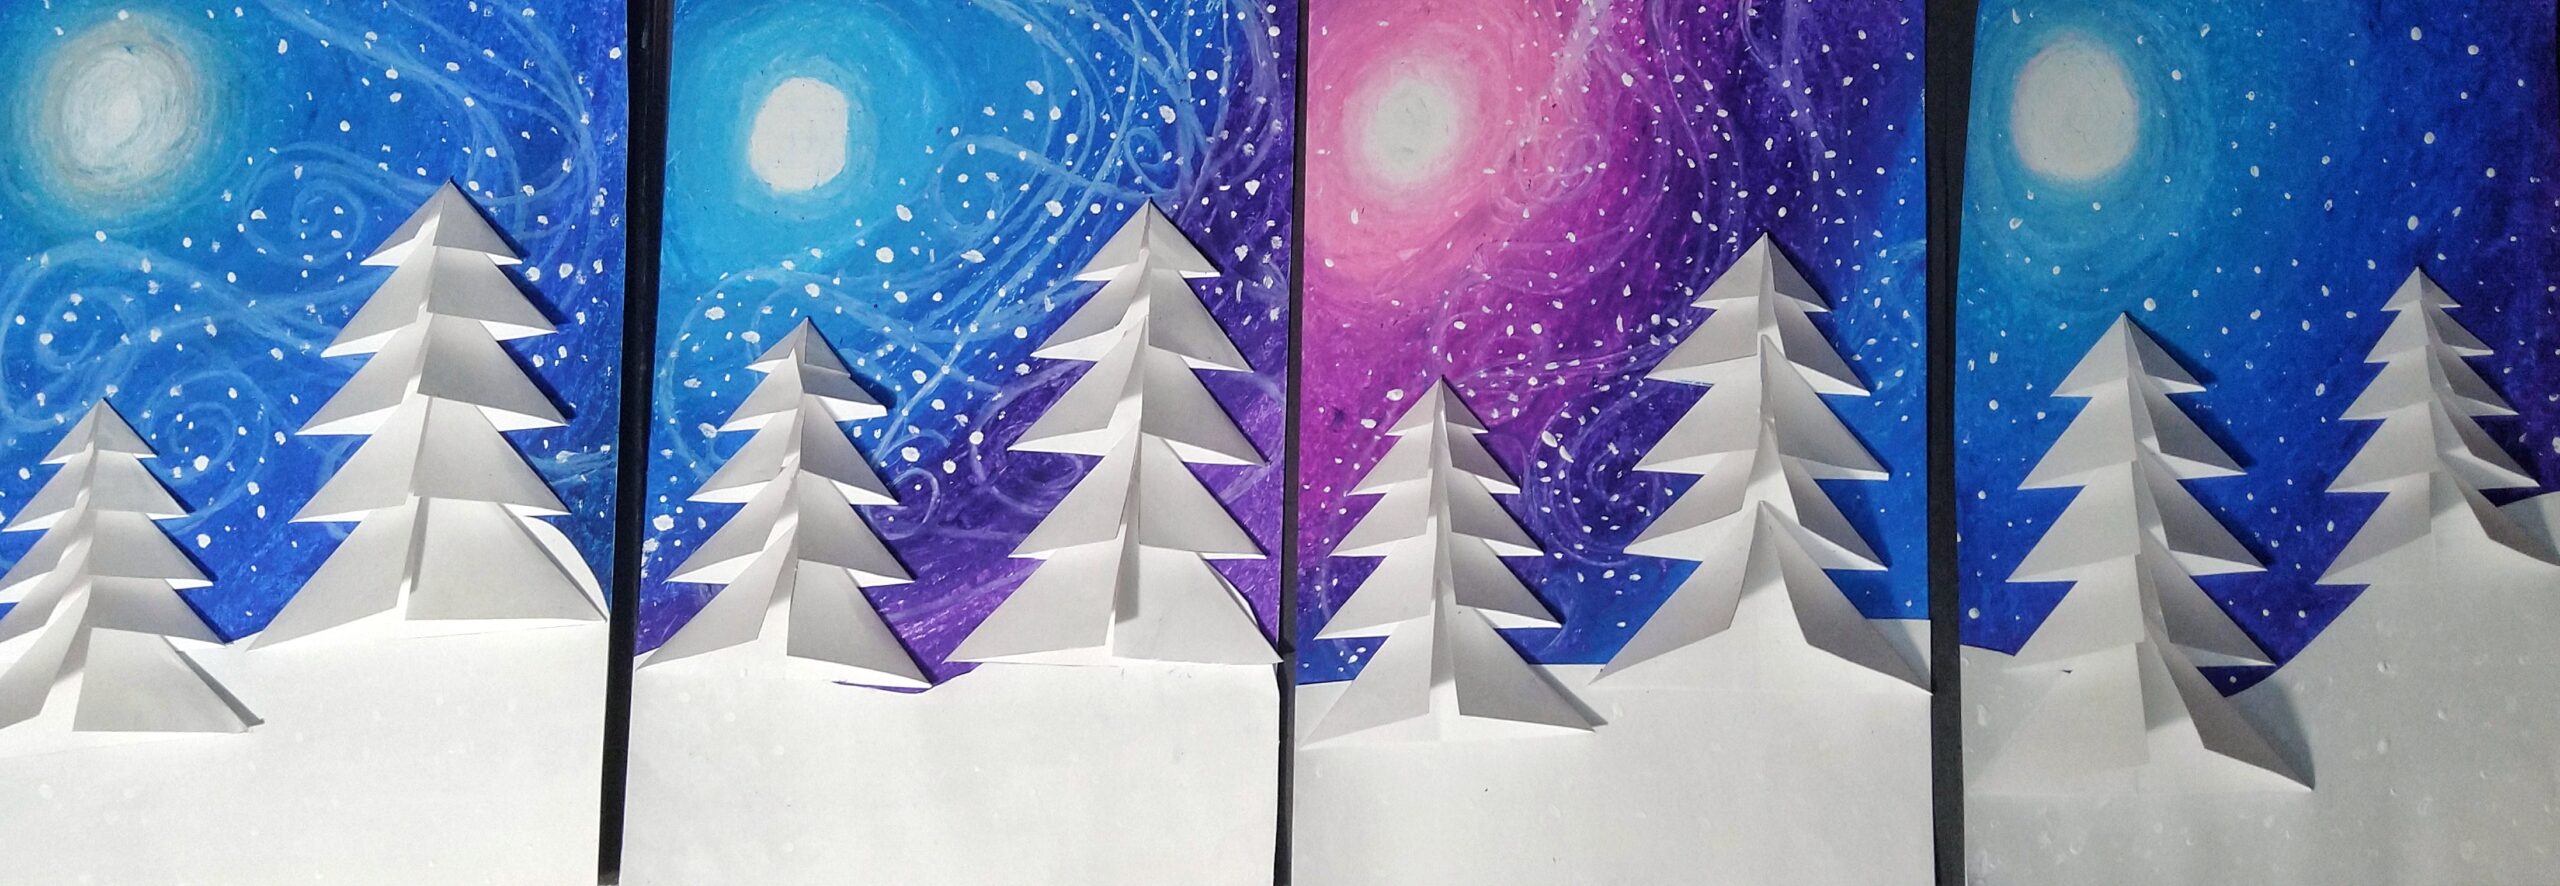
This art lesson gives students the opportunity to work with oil pastels and learn blending techniques, how to trace, cut, glue, and think about the arrangement of their composition (colors and placement).
Materials:
- Paper
- Oil Pastels
- White acrylic paint
- Thin paint brush
- Ruler
- Scissors
- Glue
- Pencil
The Process
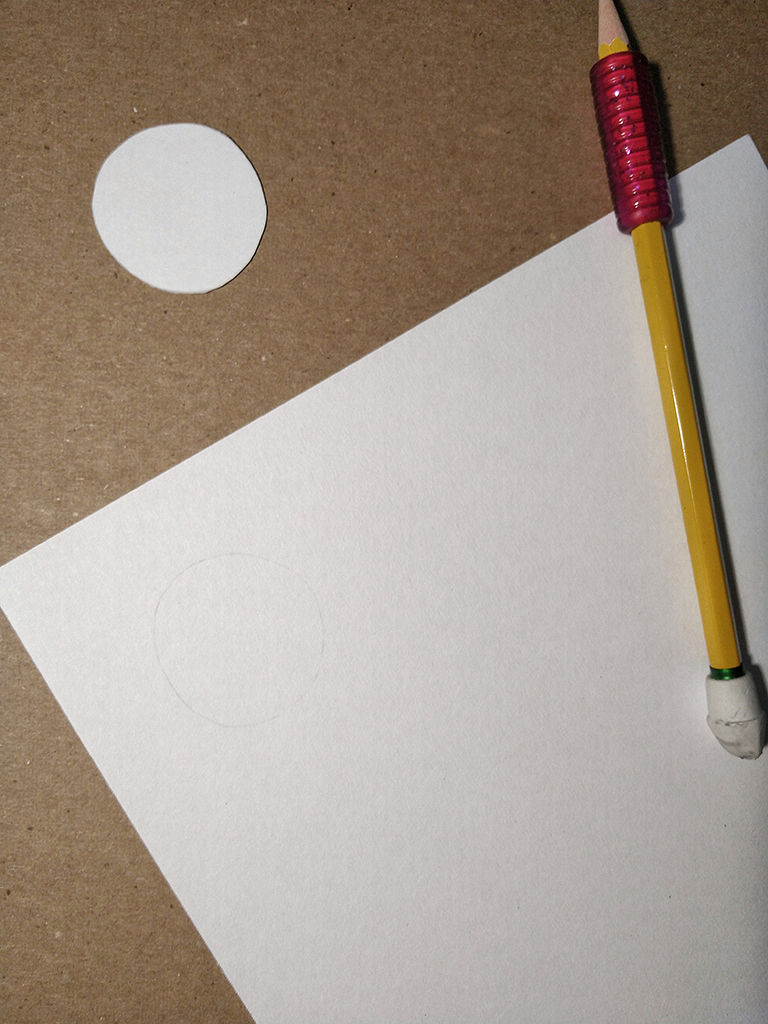
Step 1: The Moon
At the top left of the paper, have the students lightly trace a circle for the moon so that they have a guide as to where not to color on. In the image, I had a template prepared of a circle for students to easily create a circle.
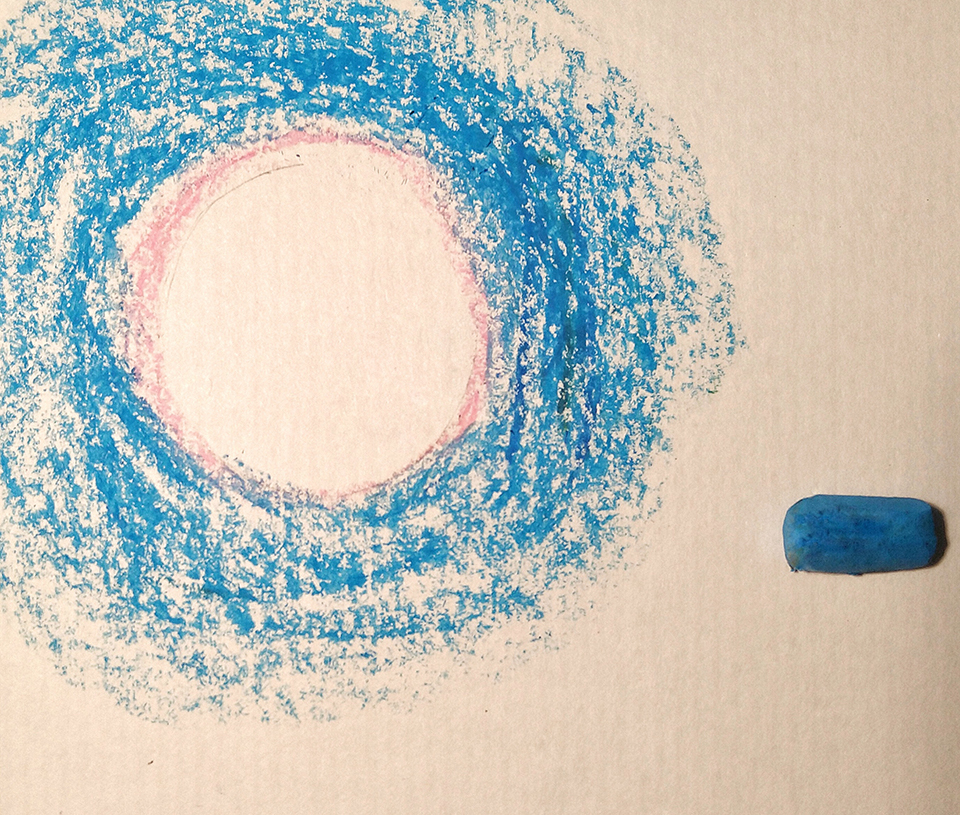
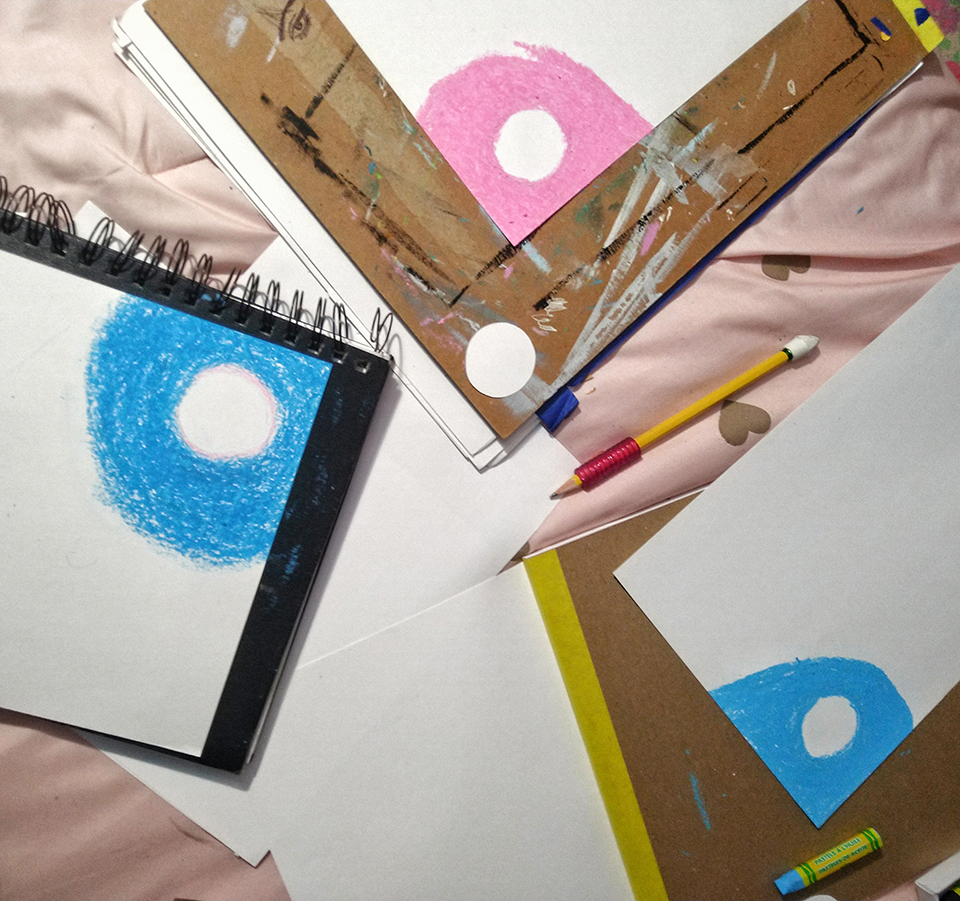
Step 2: Using Oil Pastels
Begin outlining the outer of the moon and placing the first color using oil pastels. Students can experiment using blues, purples, and pinks to create a Winter night sky. Cover a good amount so that the first color is not so thin but big enough to place the second color slightly above it to blend and create in-between colors.
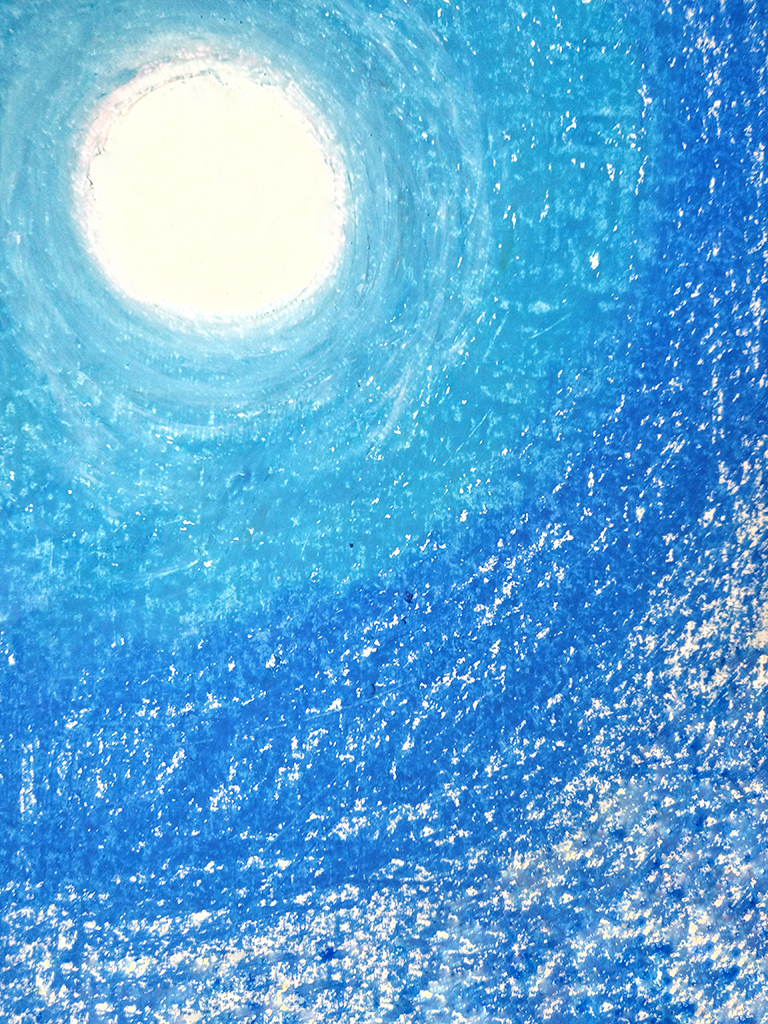
*Remember, when using the oil pastels, it is perfectly okay if the colors are not perfectly blending as you move from one color to another, this lesson will require students to go back in with their colors and blend more as desired.
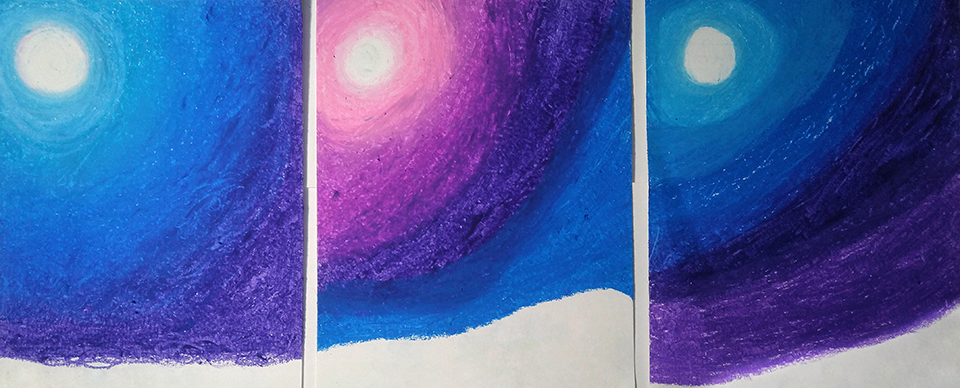
Something I added onto my paper was the swirling wind using a white oil pastel, this is optional, but I found that the kids were interested in doing so and I think that it added character to the weather.
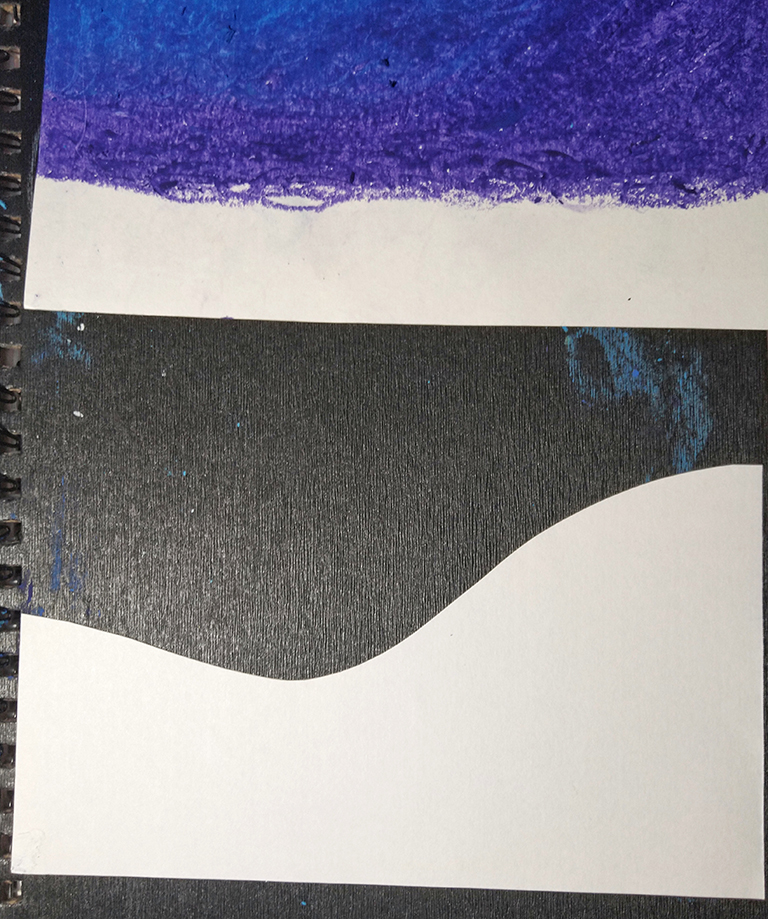
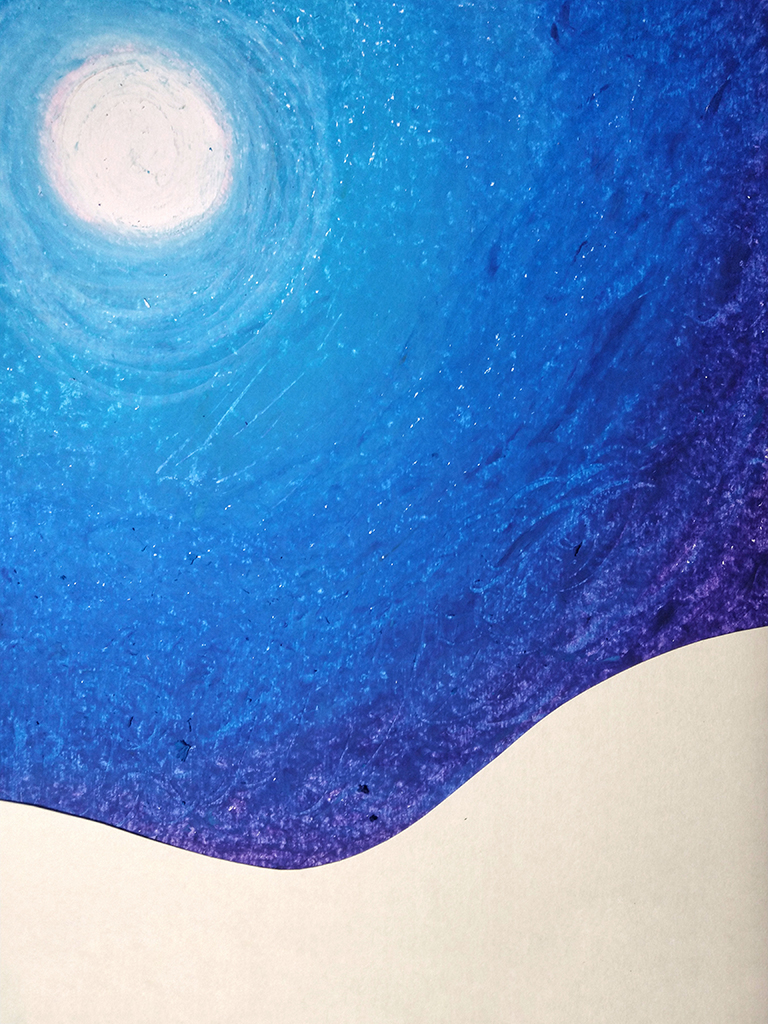
Step 3: Cutting a Snowy Floor
Once all colors have been placed and fill the rest of the paper (you can leave about 1-2 inches of the bottom of the paper blank), it will be time to grab another piece of paper to cut the desired shape of the snowy ground/hills. This will be glued to the bottom of the paper.
Step 4: Making the Trees
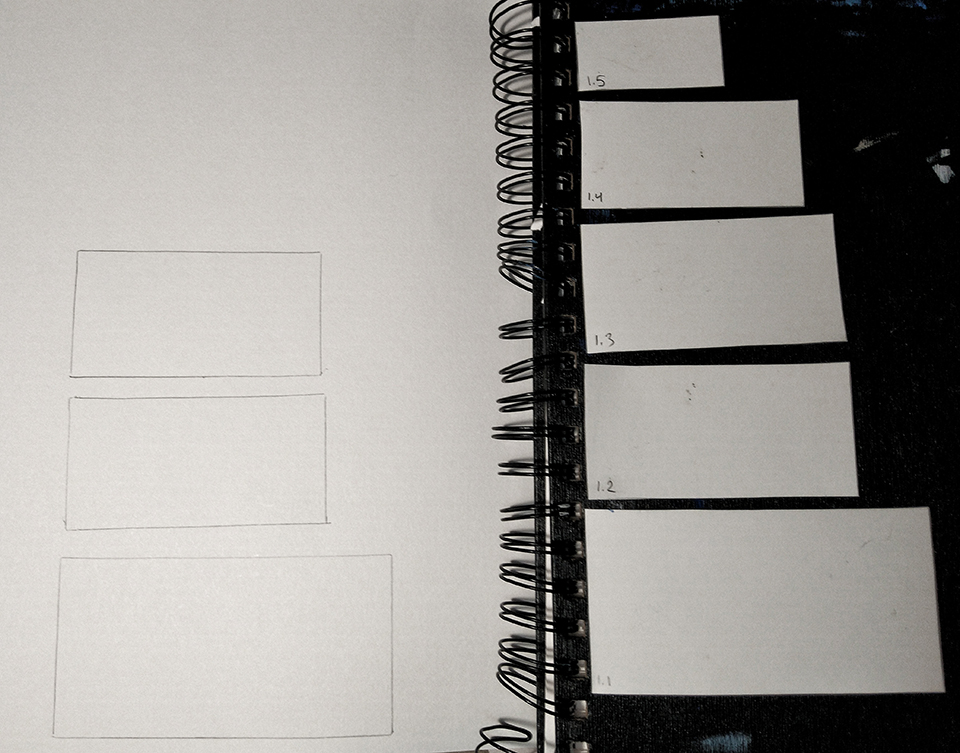
When making the 3-D trees, I created five loose rectangular templates for each level of the tree. Students will trace the templates and cut them out.
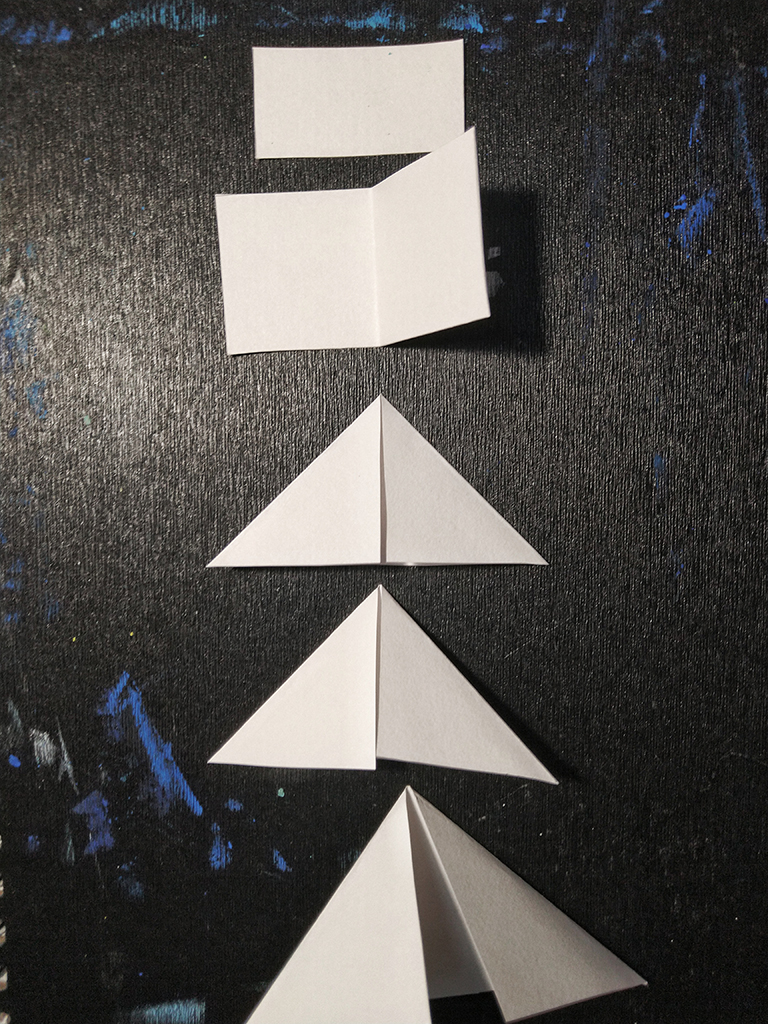
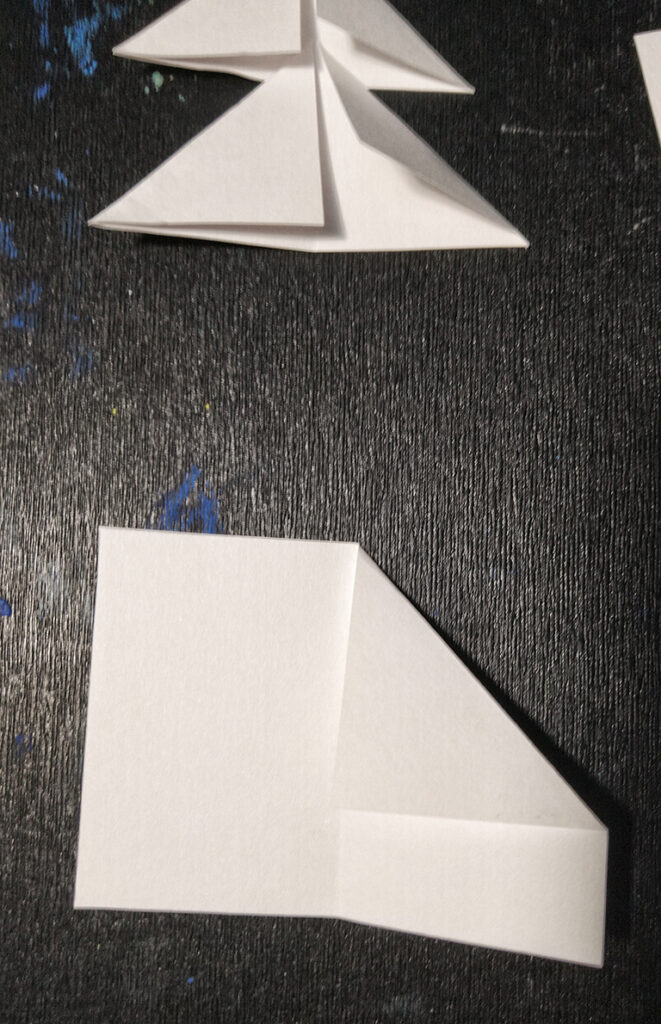
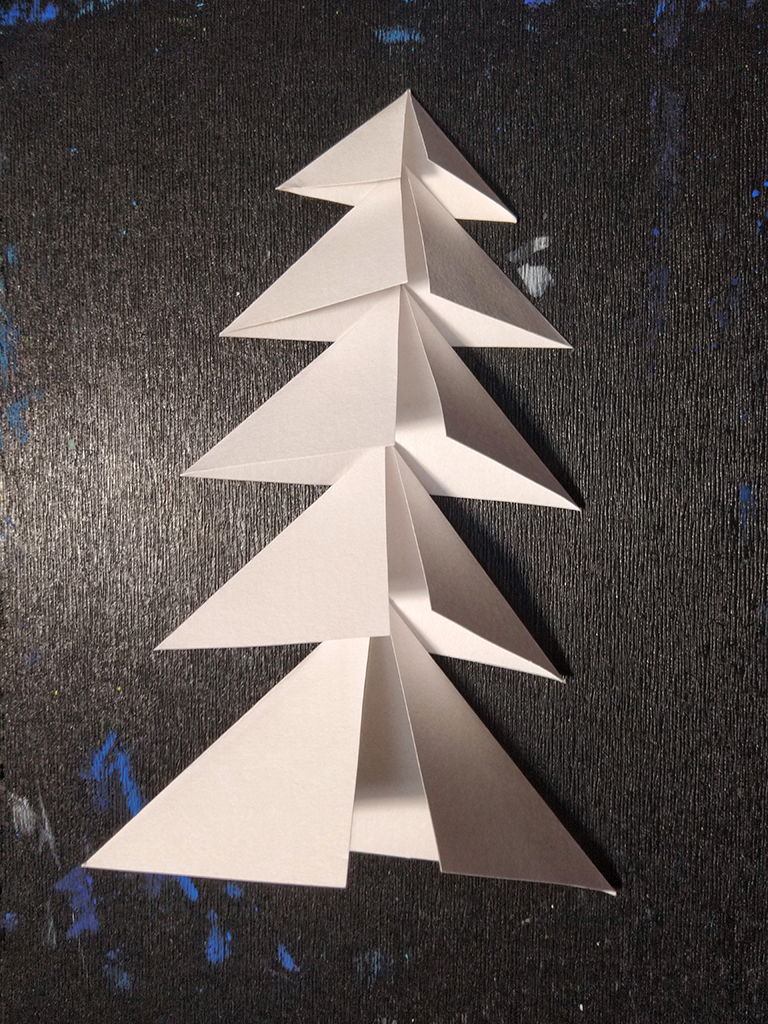
Have students fold the rectangle in half and fold one side to line up with the centerfold.
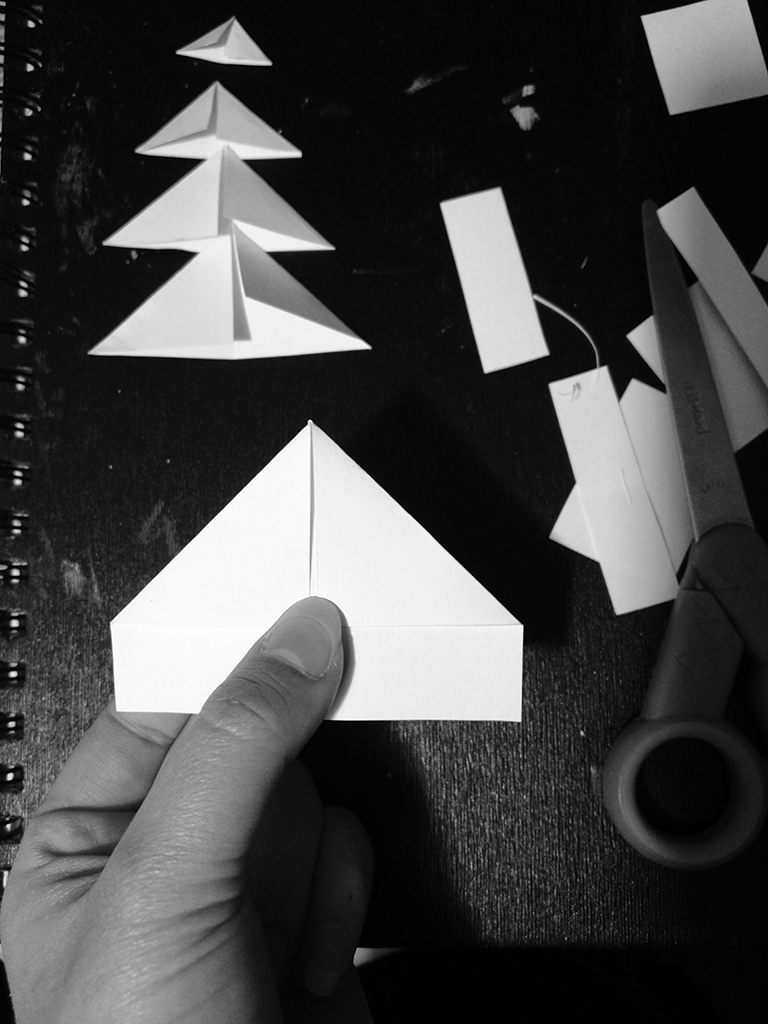
It is fine if the side does not perfectly align with the bottom, if this happens, have students cut off the excess bits so that the paper is folded to resemble a triangle.
Step 5: Gluing
Once all five triangular pieces are created, students will begin gluing the top tip of the triangle to the inside of the triangle above it. For even leveling, make sure that the middle-folded line is aligned all the way to the last triangle at the top. Small triangle at the top and the widest one at the bottom to create the shape of a tree.
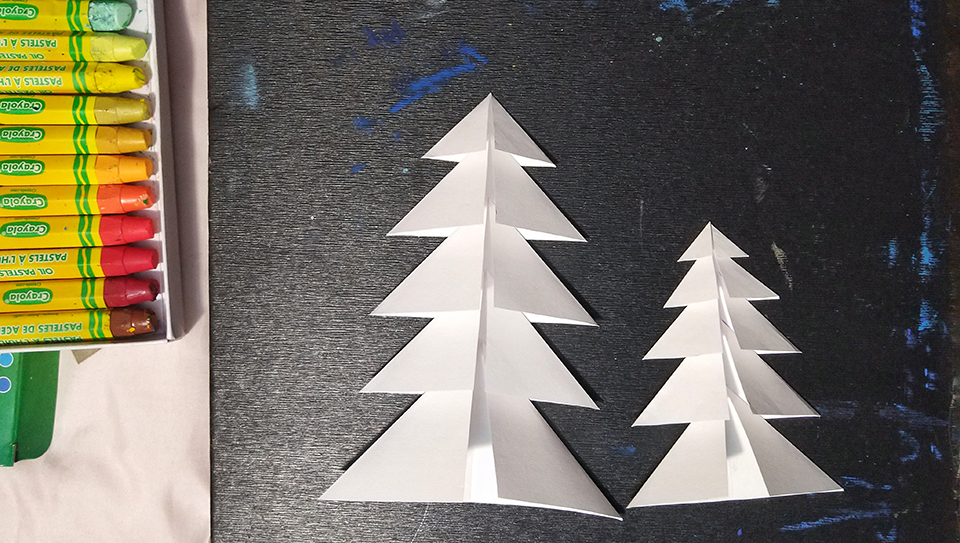
*Repeat steps 4 & 5 for a second tree. If you want to create a smaller tree, make the width of the rectangles shorter than that of the first tree.
Step 6: Placing Trees
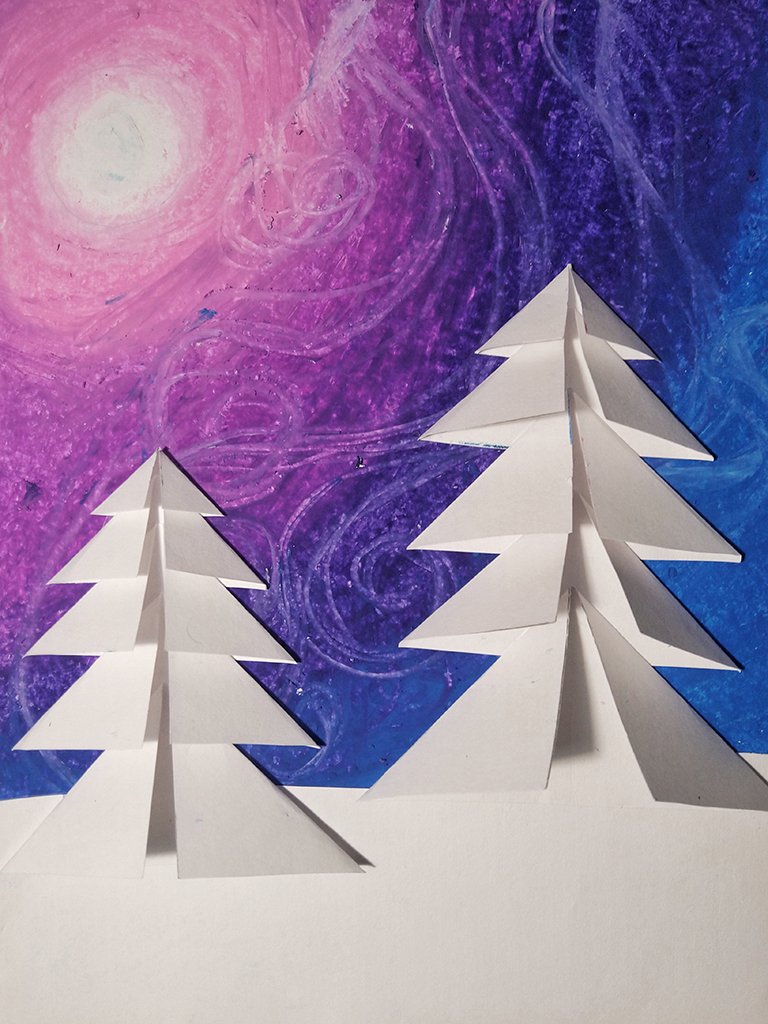
Going back to your oil pastel drawing, place the trees where you would like them to be on the paper and glue them.
Step 7: Adding Falling Snow
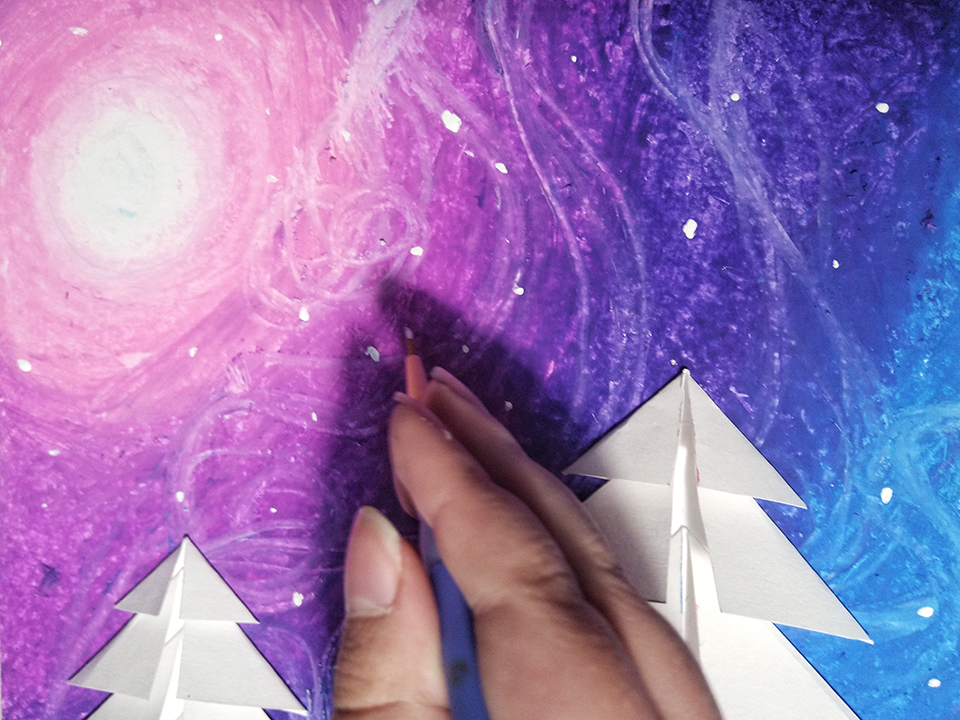
As a final touch, using white acrylic paint, the students will grab a thin brush and dip the paint to the tip of the brush. Guide students to dabble paint on the surface of the paper lightly so as to not create large blobs of paint.
Due to having a gust of winds in the background, I guided the students to try to think of the direction of the snow falling as gusts of wind carry the snowflakes and how they can mimic that in their artwork.
Final Artworks:
