Materials:
- Paper
- Pencil
- Circular items to make circles or prepare multiple sizes of circle templates for students
- Sharpie
- Ruler
- Colored Pencils
Step One: Creating the Frame
Whether you plan to have students make their own measurements to create a window frame using the provided paper or creating/finding a template for students to trace, the frame can be curved or slightly pointed at the top.
Step Two: Making and Tracing Circles
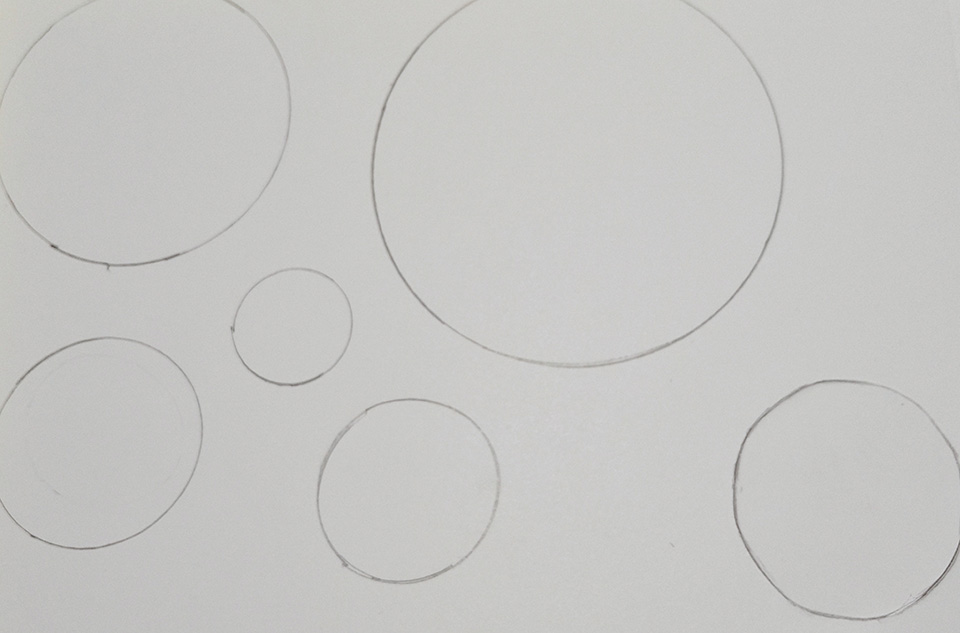
Have students search for a multitude of circular surfaces to create a dynamic composition on their paper. Having pre-made circle templates for students in their tables to share is also a good idea if needed. Students will begin organizing and planning the placement of their circles and then trace them using pencil.
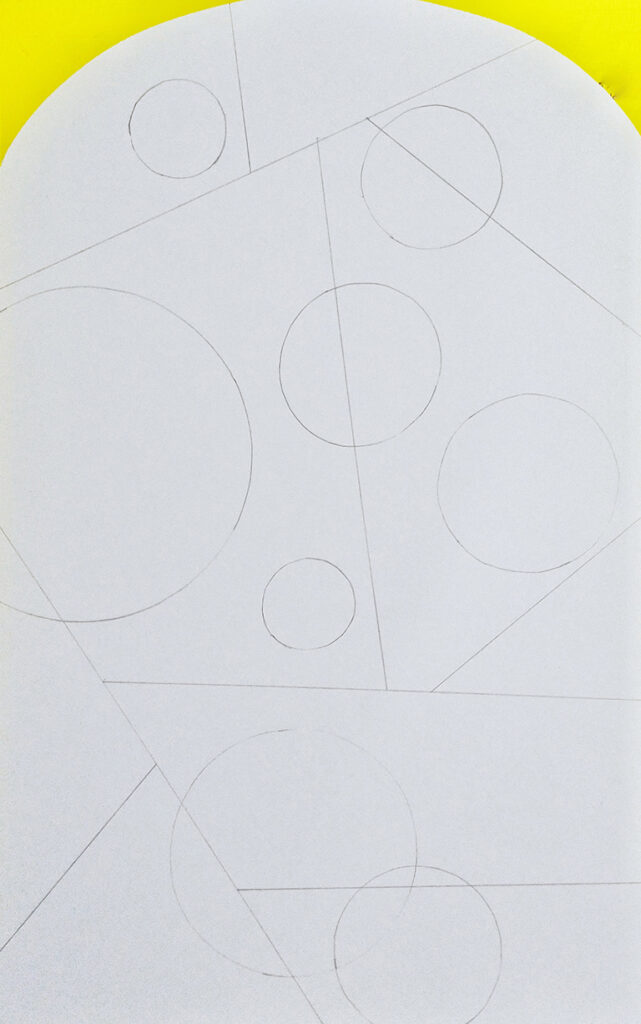
Step Three: Lines
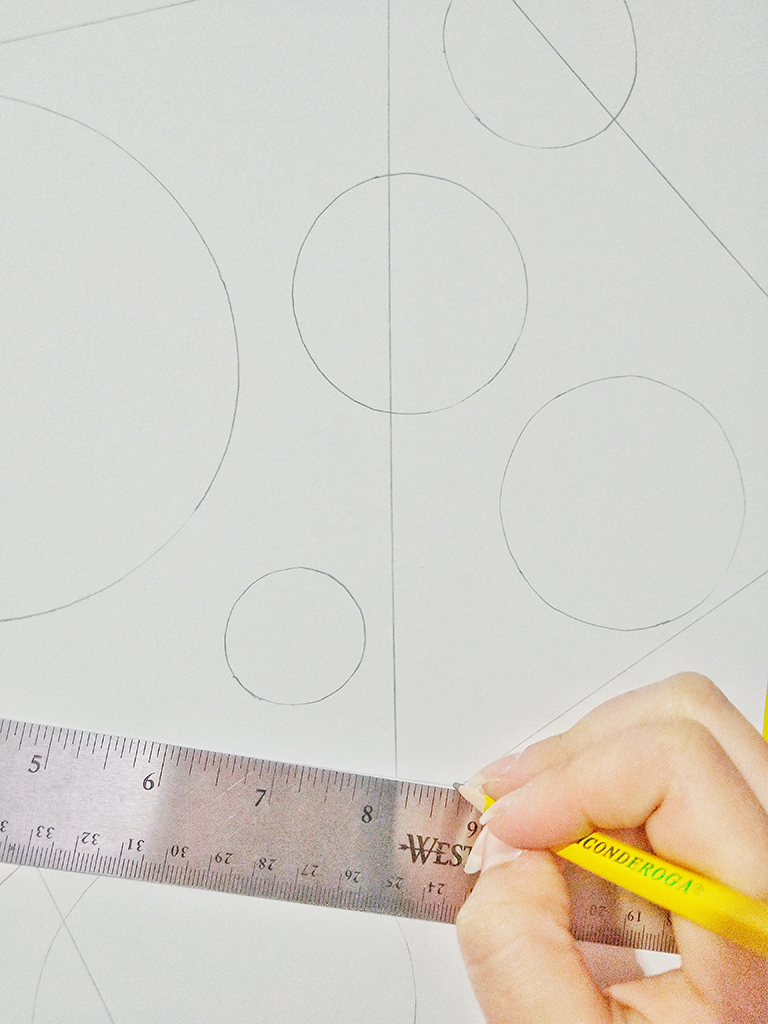
Using a ruler and pencil, begin placing the ruler at any angle on the surface of the paper and trace the line. When progressing, once a line meets another line, do not cross all the way. Eventually, triangular sections will cover the page.
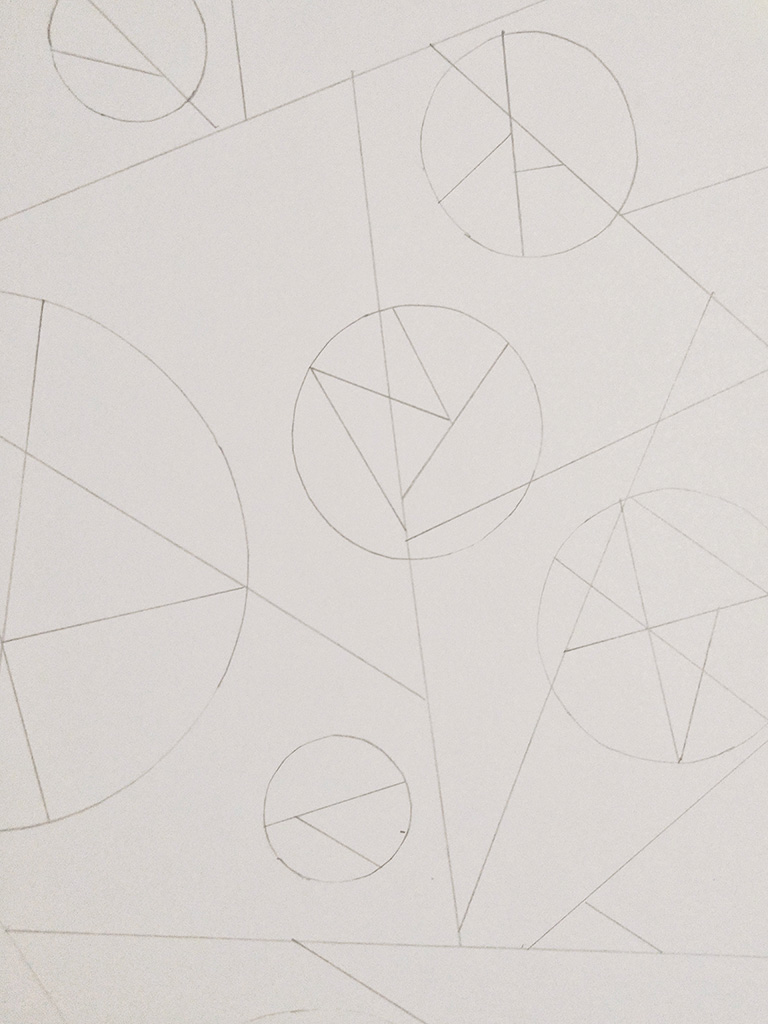
Regarding the circles, lines within the bounds of the inner shape will be created to create more intricate lines and direction.
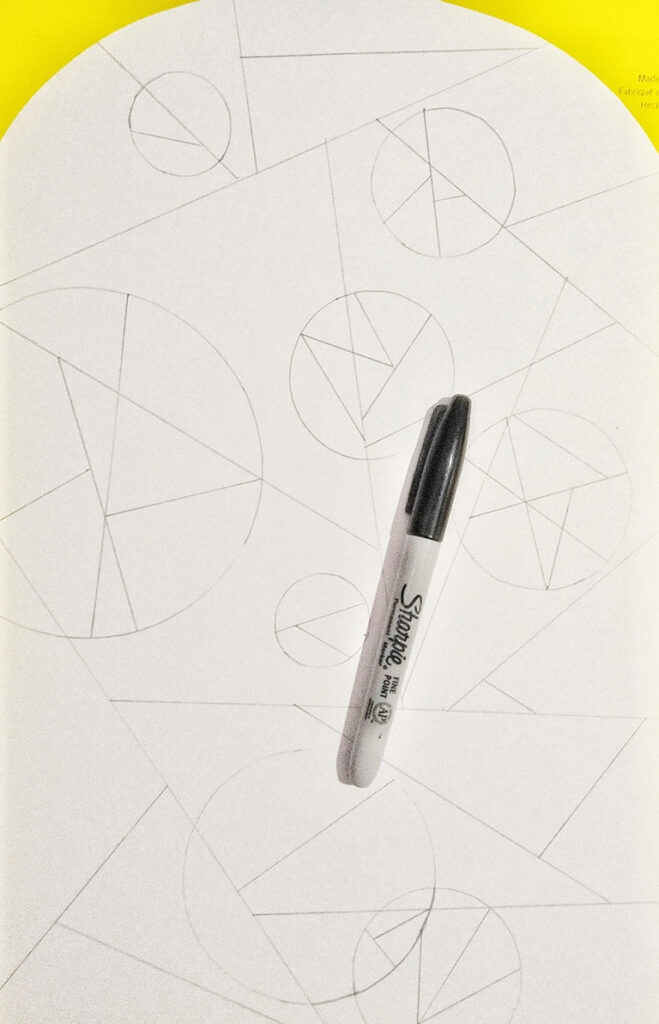
Once all lines have been placed, students will trace over their lines with a sharpie. Using the ruler to help make those straight lines is useful.
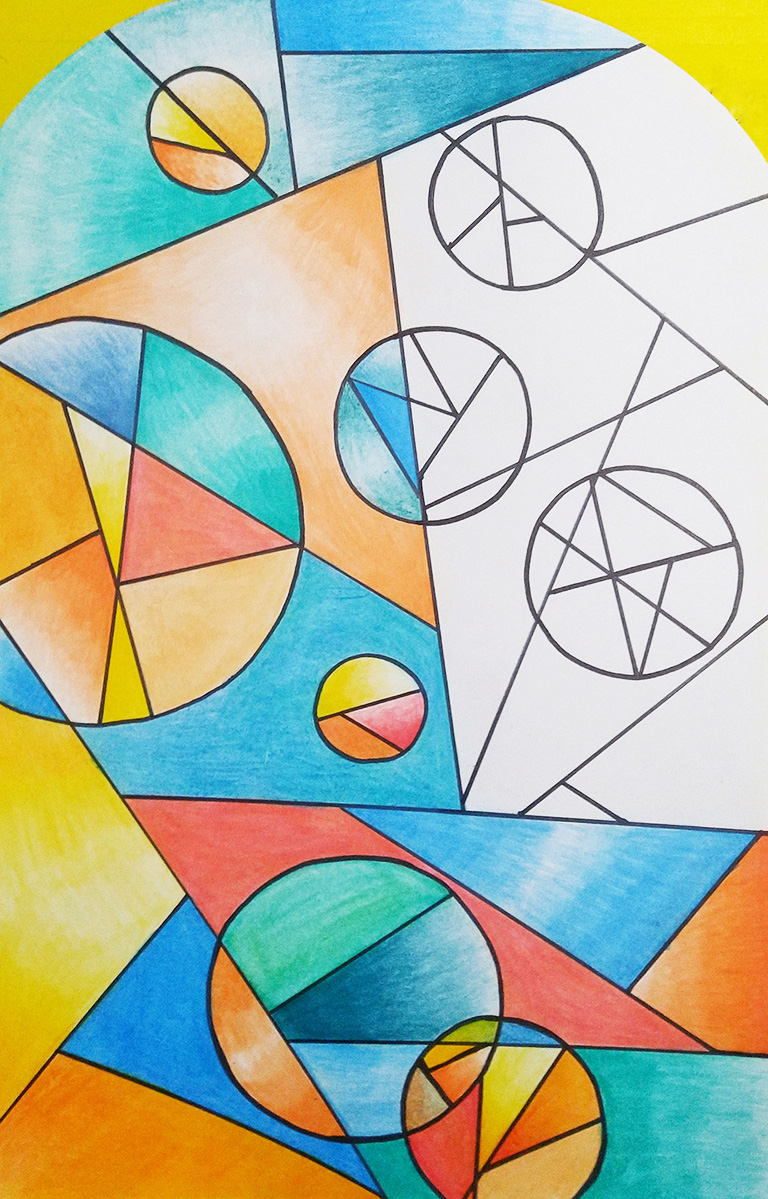


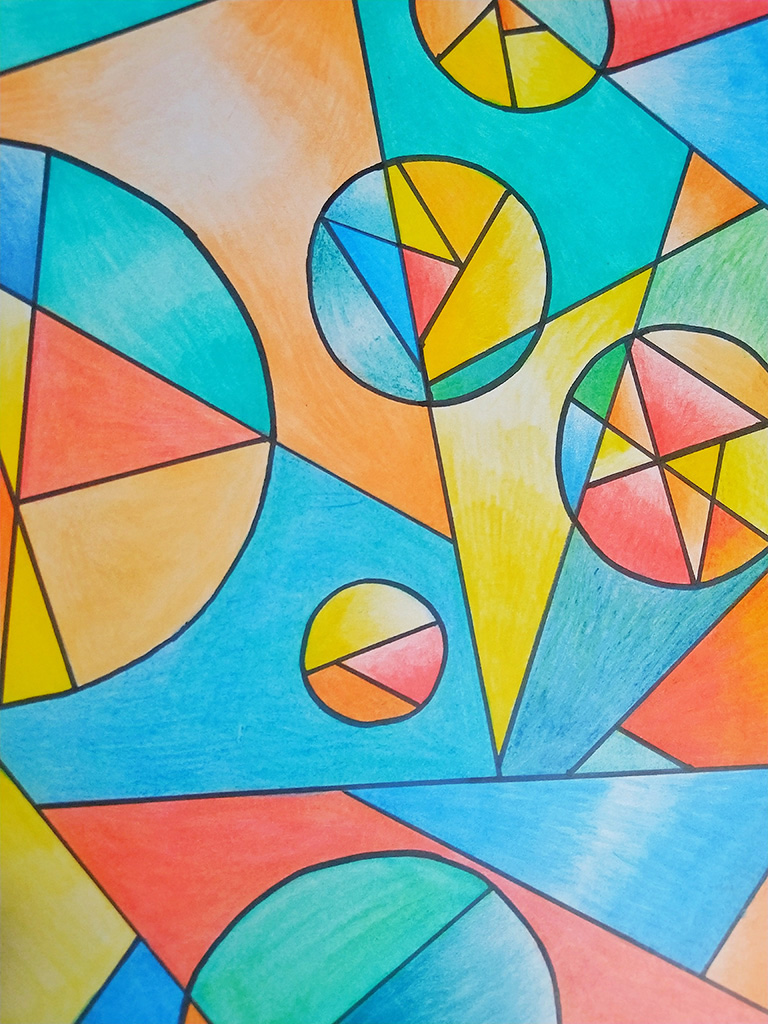
Step Four: Coloring
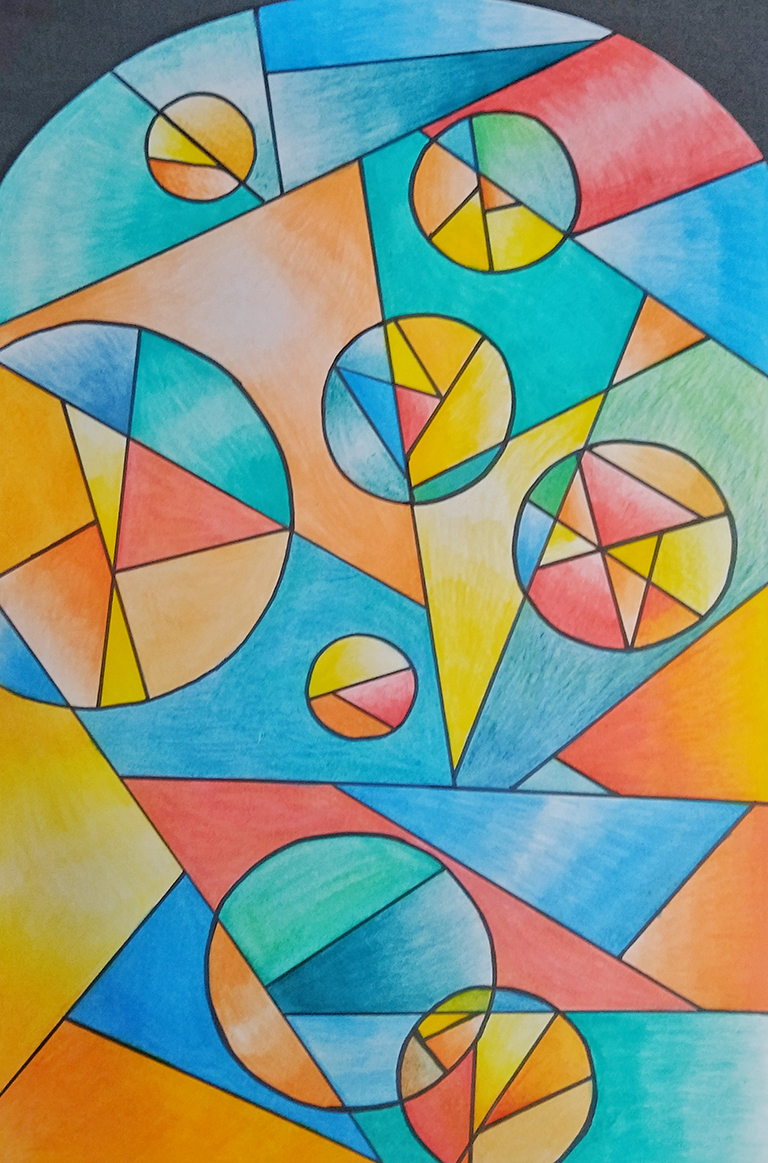
For this lesson plan, have students experiment with monochromatic or complementary color schemes. Students can add gradients, solid color, or go dark to light to be dynamic.
Final Artworks:
